How to Customize Your Own Clay Pot at Home


Getting Started with Clay Pot Customization
Customizing your own clay pot at home is a fun and rewarding activity that allows you to express your creativity. Whether you are looking to add a personal touch to your garden or create unique gifts for loved ones, customizing clay pots can be an enjoyable experience for both beginners and seasoned crafters. In this guide, we will walk you through the materials you'll need and the steps to create your own masterpiece.

Materials You Will Need
Before you get started, gather all the essential materials. You'll need a plain clay pot, acrylic paints, brushes of various sizes, a sealant for finishing, and any additional decorative items you wish to use, such as stencils or stickers. Make sure to have a clean workspace and wear old clothes or an apron to avoid any paint spills.
Preparing Your Clay Pot
The first step in customizing your clay pot is to prepare it properly. Begin by cleaning the pot with a damp cloth to remove any dust or debris. This helps the paint adhere better to the surface. Allow the pot to dry completely before you start painting. If desired, you can apply a base coat of white acrylic paint to make your colors pop more vividly.
Designing Your Clay Pot
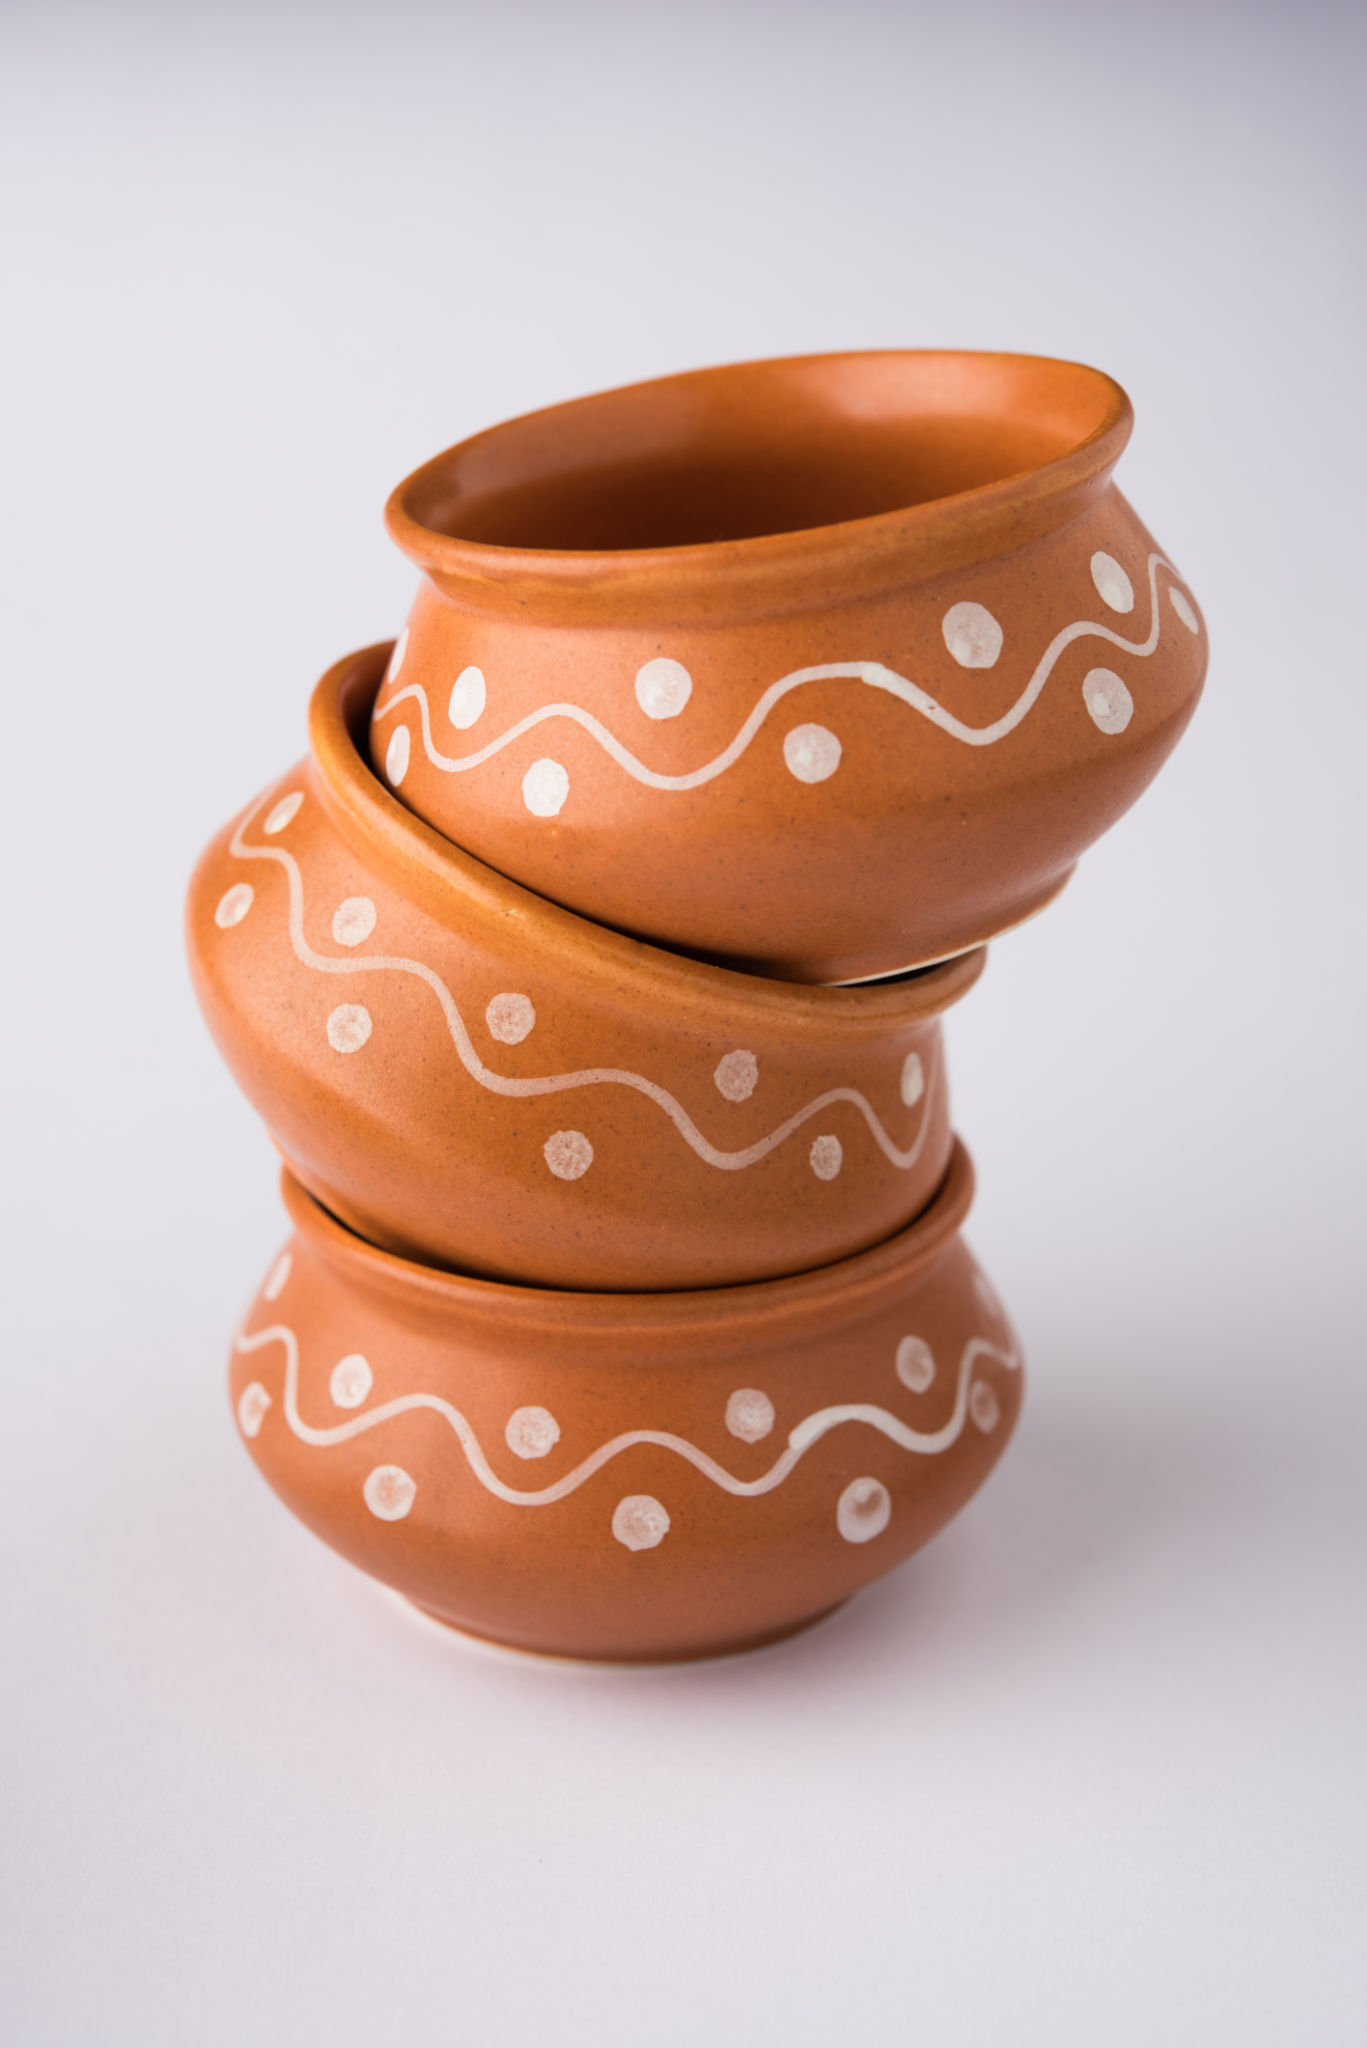
Now comes the fun part—designing your pot! Think about the colors and patterns you want to use. You can draw inspiration from nature, geometric patterns, or even abstract designs. If you're unsure where to start, sketch your ideas on paper before transferring them onto the pot. This will help you visualize the final product and make any adjustments needed.
Painting Techniques
When it comes to painting your clay pot, there are several techniques you can use. For a smooth finish, use long, even brush strokes. If you're creating a more intricate design, opt for smaller brushes for precision. Don't be afraid to experiment with different brush strokes and techniques like sponging or stippling for added texture and depth.
Adding Finishing Touches
Once your design is complete and the paint is dry, it's time to add any finishing touches. You can use stencils to add lettering or patterns or embellish with stickers and gems for extra flair. Apply a clear acrylic sealant over the entire pot to protect your artwork from the elements and ensure its longevity.

Caring for Your Customized Clay Pot
To ensure your customized clay pot lasts as long as possible, place it in a sheltered area away from direct sunlight and rain. This will prevent fading and damage over time. If using your pot for plants, consider lining the interior with a plastic liner to prevent water damage to your artwork.
Displaying Your Artwork
Once you’ve completed your clay pot, find the perfect spot to display it. Whether it’s on your porch, in your garden, or as a centerpiece indoors, your custom pot will add a personal touch to any space. Consider creating a series of pots with different designs for a cohesive look.
Customizing clay pots is not only an enjoyable creative outlet but also a way to personalize your home decor. With a bit of imagination and effort, you can transform a simple clay pot into a work of art that reflects your unique style.